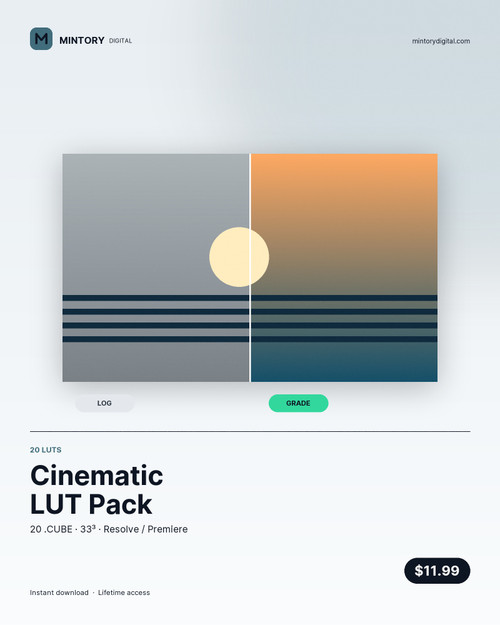
Twenty LUTs that do not all look like the same teal-orange preset with the saturation nudged. Built as 33×33×33 cubes so they hold up on skin, and tested against log footage rather than a single hero frame.
What you get
- 20 .cube files, 33×33×33, with proper
TITLEandDOMAIN_MIN/MAXheaders so every NLE reads them - Four families: film emulation, warm daylight, cold night, and bleach-bypass contrast
- Log and Rec.709 variants where the look needs a different starting point
- LUT index — what each one expects, what it does to skin, and the intensity to run it at
How it works
- DaVinci Resolve: drop the folder into LUT → Project, or point Colour Management at it.
- Premiere: Lumetri → Basic Correction → Input LUT → Browse.
- Final Cut: Effects → Custom LUT, then load the cube.
- Set intensity to 60–80% first. A LUT at 100% is a decision someone else made; at 70% it is a grade you are steering.
The honest note on LUTs
A LUT is a fixed colour transform — it cannot know your white balance. Set exposure and white balance before you apply one, or you are grading the LUT instead of the footage. The log variants exist so you do not have to convert first; the Rec.709 ones want a converted image.
Files: 20 .cube LUTs + index in the readme. Licence: commercial, unlimited projects, including client delivery. Do not resell the LUT files.